How To Install Jetpack In WordPress

Installing Jetpack in WordPress: A Step-by-Step Guide for Beginners
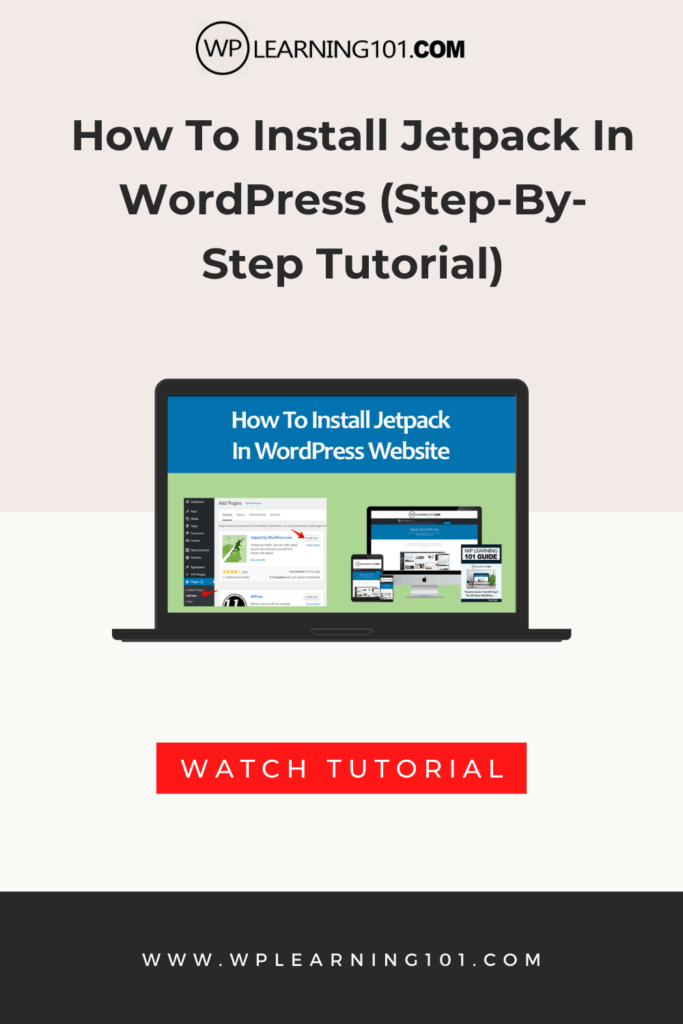
Jetpack is a powerful plugin for WordPress that provides security, performance, and site management features for your website. In this guide, we will show you how to install and set up Jetpack in WordPress, step by step, for beginners. Whether you are new to WordPress or have been using it for a while, Jetpack can help you take your website to the next level.
Introduction
Jetpack is a plugin developed by Automattic, the company behind WordPress.com. It offers a variety of features to enhance your WordPress site, including security, performance optimization, traffic growth tools, and site management. With Jetpack, you can simplify the management of your website, improve its security, and boost its performance, all in one place.
This guide is specifically designed for beginners who are new to Jetpack and want to learn how to install and set up the plugin on their WordPress site. We will go through the process step by step, with real-life examples to help you understand each step.
Step 1: Sign up for a Jetpack Account
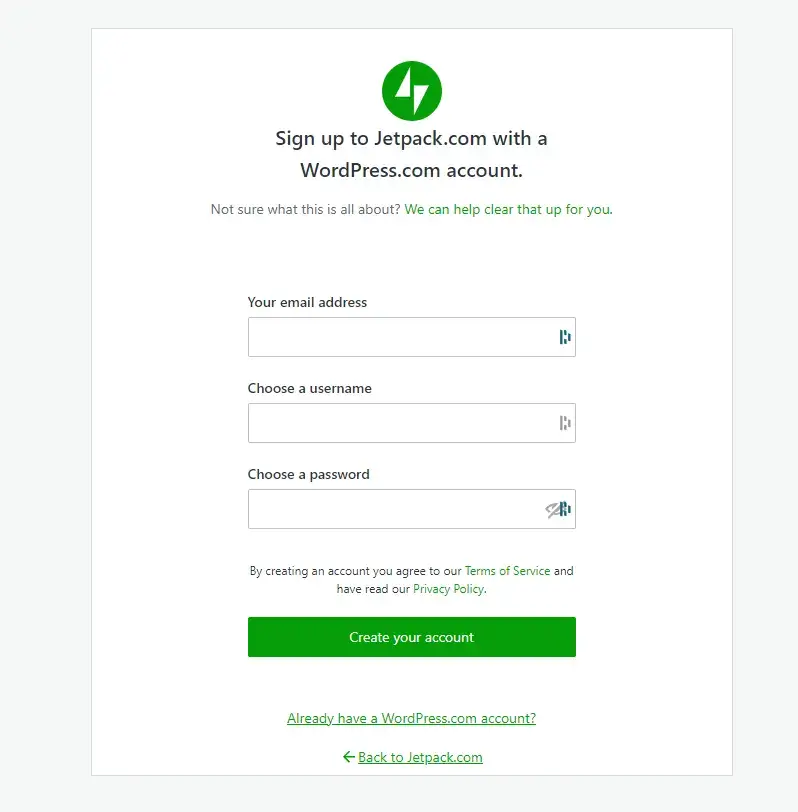
The first step to using Jetpack is to sign up for a Jetpack account. You can do this by visiting the Jetpack website and clicking the “Sign Up” button. From there, you will be asked to create an account by entering your email address and a password.
Once you have created your Jetpack account, you will be taken to the Jetpack dashboard. This is where you can manage your Jetpack subscription, view your site’s stats, and access the various Jetpack features.
Step 2: Install the Jetpack Plugin on Your WordPress Site
Now that you have a Jetpack account, it’s time to install the Jetpack plugin on your WordPress site. There are two ways to do this: through the WordPress plugin repository or by uploading the plugin through the WordPress dashboard.
Installing Jetpack through the WordPress Plugin Repository
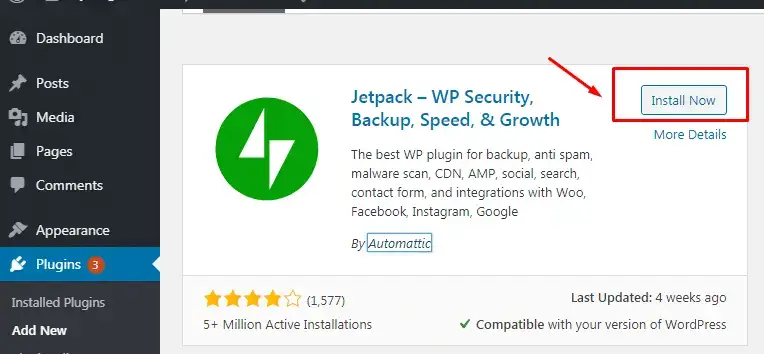
The easiest way to install Jetpack is through the WordPress plugin repository. Simply log in to your WordPress dashboard, go to the “Plugins” section, and click the “Add New” button. In the search bar, type “Jetpack” and click the “Search Plugins” button. From the search results, click the “Install Now” button next to the Jetpack plugin.
Once the plugin is installed, click the “Activate” button to activate it on your site. You will now see a new “Jetpack” menu item in your WordPress dashboard.
Uploading Jetpack through the WordPress Dashboard
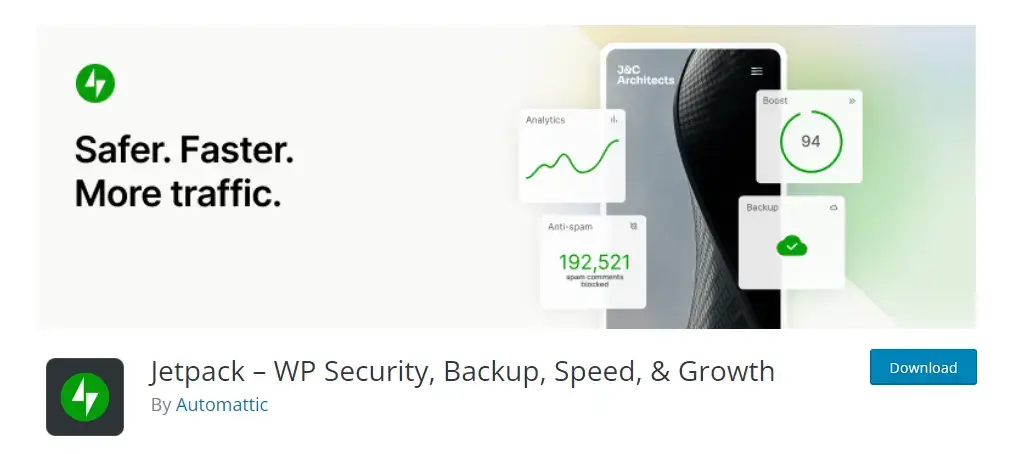
If you prefer to upload the Jetpack plugin directly to your WordPress site, you can do so by downloading the plugin from the Jetpack website and uploading it to your site through the WordPress dashboard.

To upload the plugin, log in to your WordPress dashboard, go to the “Plugins” section, and click the “Add New” button. Click the “Upload Plugin” button and select the Jetpack plugin file that you downloaded from the Jetpack website. Click the “Install Now” button and then click the “Activate” button to activate the plugin on your site.
Step 3: Connect Your Site to Your Jetpack Account
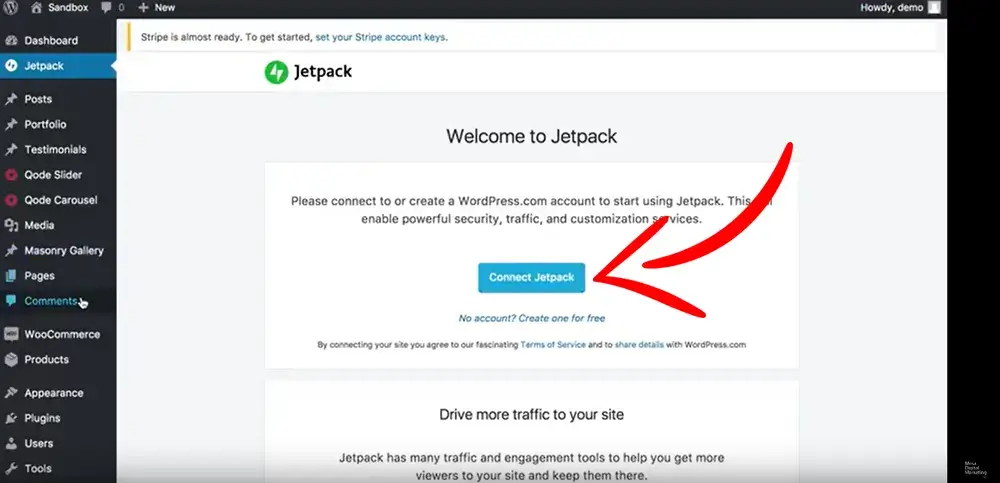
Now that you have installed and activated the Jetpack plugin on your WordPress site, it’s time to connect it to your Jetpack account. To do this, go to the “Jetpack” menu in your WordPress dashboard and click the “Connect to Jetpack” button.
You will be asked to enter your Jetpack account email address and password. Once you have entered this information, click the “Authorize” button to connect your site to your Jetpack account.
After you have successfully connected your site to your Jetpack account, you will be taken to the Jetpack setup process. Here, you can choose the security and performance features that you want to activate on your site.
For example, you can activate the Jetpack backup feature, which automatically backs up your site to the cloud. This is a great feature to have in case you ever need to restore your site in the event of a problem.
You can also activate the Jetpack security features, such as brute force protection and malware scanning. These features help to keep your site safe from security threats.
Finally, you can activate the Jetpack performance optimization features, such as image and video optimization. These features help to improve the loading speed of your site, making it faster and more user-friendly.
Step 4: Customize and Activate Jetpack Modules
Jetpack has a variety of modules that you can activate to add specific features to your site. Some of the most popular modules include:

- Site stats: This module provides detailed analytics and stats about your site’s traffic and performance.
- Contact forms: This module allows you to create custom contact forms for your site, making it easy for visitors to get in touch with you.
- Subscriptions: This module allows visitors to subscribe to your site and receive updates via email.
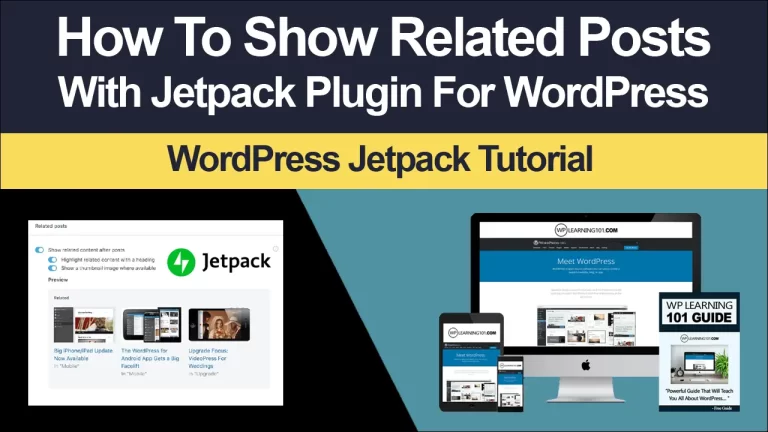
- Related posts: This module displays related posts on your site, helping to keep visitors engaged and on your site for longer.
To activate a Jetpack module, go to the “Jetpack” menu in your WordPress dashboard and click the “Modules” tab. From here, you can browse the available modules and activate the ones that you want to use.
Installing and setting up Jetpack in WordPress is a simple and straightforward process, especially when you follow this step-by-step guide for beginners. With Jetpack, you can enhance the security, performance, and management of your WordPress site, all in one place.
Whether you are a beginner or an experienced WordPress user, Jetpack is a must-have plugin for your site. So why not start using Jetpack today and take your site to the next level?
Semantically Similar FAQs
- What is Jetpack and how does it work with WordPress?: Jetpack is a plugin for WordPress that provides a variety of features to enhance your site, including security, performance optimization, traffic growth tools, and site management. It works with your WordPress site to simplify the management of your site, improve its security, and boost its performance.
- What are the benefits of using Jetpack with my WordPress site?: Using Jetpack with your WordPress site provides a number of benefits, including enhanced security, improved performance, and simplified site management. With Jetpack, you can also access a variety of traffic growth tools and analytics to help grow your site.
- How do I sign up for a Jetpack account?: To sign up for a Jetpack account, simply visit the Jetpack website and click the “Sign Up” button. Enter your email address and password to create your account.
- How do I install the Jetpack plugin on my WordPress site?: There are two ways to install the Jetpack plugin on your WordPress site: through the WordPress plugin repository or by uploading the plugin through the WordPress dashboard.
- How do I connect my WordPress site to my Jetpack account?: To connect your WordPress site to your Jetpack account, go to the “Jetpack” menu in your WordPress dashboard and click the “Connect to Jetpack” button. Enter your Jetpack account email address and password, and click the “Authorize” button to connect your site to your Jetpack account.
- What are Jetpack modules and how do I activate them?: Jetpack modules are individual features that you can add to your site to enhance its functionality. To activate a Jetpack module, go to the “Jetpack” menu in your WordPress dashboard and click the “Modules” tab. Browse the available modules and activate the ones that you want to use.
- Can I use Jetpack for free on my WordPress site?: Jetpack offers a free version of its plugin, which includes basic security, performance, and site management features. However, if you want access to the full range of Jetpack features, you will need to upgrade to a paid subscription.
- How does Jetpack improve the security and performance of my WordPress site?: Jetpack improves the security and performance of your WordPress site through a variety of features, including backup, security, and performance optimization. By using Jetpack, you can simplify the management of your site, keep it safe from security threats, and improve its performance for a better user experience.
- Is Jetpack easy to use for beginners with no technical knowledge?: Yes, Jetpack is designed to be easy to use for beginners with no technical knowledge. The plugin provides a step-by-step setup process and a user-friendly interface, making it simple for anyone to use and enhance their WordPress site.
Here are some detailed bullet points that summarize the main points of the article:
Step 1: Sign up for a Jetpack Account:
- Explanation of why a Jetpack account is necessary
- Brief overview of the sign-up process
- Details on the Jetpack dashboard and how to manage your Jetpack subscription
Step 2: Install the Jetpack Plugin on Your WordPress Site:
- Explanation of the two ways to install Jetpack on a WordPress site (through the WordPress plugin repository or by uploading the plugin through the WordPress dashboard)
- Step-by-step instructions on how to install Jetpack through the WordPress plugin repository
- Step-by-step instructions on how to upload Jetpack through the WordPress dashboard
Step 3: Connect Your Site to Your Jetpack Account:
- Explanation of how to connect the Jetpack plugin to your Jetpack account
- Details on the Jetpack setup process and how to activate Jetpack’s security and performance features
- Explanation of the various security and performance features available in Jetpack, including backup, security, and performance optimization
Step 4: Customize and Activate Jetpack Modules:
- Explanation of the different Jetpack modules and their uses
- Explanation of how to activate Jetpack modules to meet your needs
- Overview of popular Jetpack modules, such as site stats, contact forms, subscriptions, and related posts
Conclusion:
- Recap of the steps to install and set up Jetpack in WordPress
- Final thoughts and recommendations for using Jetpack to enhance your WordPress website

Action Plan for Installing Jetpack in WordPress:
1. Sign up for a Jetpack account:
- Visit the Jetpack website and click the “Sign Up” button
- Enter your email address and password to create your Jetpack account
- Familiarize yourself with the Jetpack dashboard and its features
2. Install the Jetpack plugin on your WordPress site:
- Decide whether to install Jetpack through the WordPress plugin repository or by uploading the plugin through the WordPress dashboard
- Follow the step-by-step instructions for the method you have chosen
- Activate the Jetpack plugin on your WordPress site
3. Connect your site to your Jetpack account:
- Go to the “Jetpack” menu in your WordPress dashboard and click the “Connect to Jetpack” button
- Enter your Jetpack account email address and password
- Authorize the connection between your site and your Jetpack account
- Complete the Jetpack setup process and activate the security and performance features you want to use
4. Customize and activate Jetpack modules:
- Go to the “Jetpack” menu in your WordPress dashboard and click the “Modules” tab
- Browse the available modules and activate the ones that you want to use
- Familiarize yourself with the features of each module and how they can enhance your site
5. Monitor and manage your Jetpack features:
- Regularly check the Jetpack dashboard for updates and new features
- Monitor your site’s security and performance using the Jetpack features
- Make adjustments to your Jetpack setup as needed to ensure optimal performance for your site.
By following this action plan, you can successfully install and set up Jetpack in WordPress and start using its powerful features to enhance your site.
In conclusion, Jetpack is a must-have plugin for any WordPress website. It provides a range of security, performance, and site management features that are essential for the success of your website. Installing and setting up Jetpack is a straightforward process, and this guide has provided a step-by-step walkthrough for beginners.
From signing up for a Jetpack account to customizing and activating Jetpack modules, the process is simple and easy to follow. Whether you are a beginner or an experienced WordPress user, Jetpack offers a range of features that can help you take your website to the next level.
So why wait? Start using Jetpack today and experience the benefits it has to offer for your WordPress site. With Jetpack, you can simplify the management of your site, improve its security, and boost its performance, all in one place.